Hullo Folks,
Well it’s a wintery summer here today in the south. But never mind, Today I took the opportunity to recover a book of mine! And when it was done it looked like this:
DISCLAIMER: This is how I covered my book, I’m not recommending you necessarily do it in the same manner. Nor am I to be held accountable if you hurt yourself whilst following this guide. Or if it doesn’t turn out perfect. You do so at your own risk. Be it on your own head basically.
I’d wanted a new note book for some time, but wasn’t willing to fork out 20 dollars for something pretty. So I found this in an op-shop (thrift store in America) for $2.50, never used before.

It’s quite a nice design, but I had other plans for it! I have been collecting fabric for some time, and had this pretty piece with flowers just waiting for a project! 
Now I probably should have made the pattern BEFORE cutting out my fabric… but I have no self restraint sometimes so I cut out a square of that that was a wee bit too small… but still sorta fits it just doesn’t look tidy. ANYWAY…
So then I realized that you could see the old cover through the fabric and would have to first cover the whole thing in a white paper.

So I drew round the book, and measured the spine (that’s the strip in the middle). Then put about 1cm seam allowance (once a fashion student always a fashion student?) on the bottom flaps and cut out wee circular bits so it will fold round easily. Then I made the side flaps a bit bigger. If you are making this book covering at home, I’d recommend at this stage you take this pattern and trace round it onto your fabric with a bit of chalk, but extend the seam allowance a wee bit so you will cover your under layer of paper. If you want to be a perfectionist, you could overlock the edge or something… (shrugs I dunno).
Fold it up and try it on your book for size 🙂 It should fit.
Then proceed to glue it to your book, I used a craft glue, but I think probably PVA or something similar would be the best. The craft glue I used is good, in that it is strong, but it sets very quickly leaving little time for the manipulation of materials. It’s a good idea when using glue to work in a well ventilated area. The label of your glue should tell you how to use it safely.
Okay! As for the technique, Align the spin of the book with the middle of your paper cover. I tried using a brush to spread the glue, but I found it better to glue as you would screenprint. Woah… what did she just say? Screen printing? This is a book cover tutorial isn’t it? Yes, but hear me out! In screen printing, you put the ink along the top of your screen and pull it down towards you with a squeegee. But here’s what we do with the glue. Squirt out a line across the top of the book. Then, get a strip of cardboard the same length as the top of the cover. Use the cardboard to scrape the glue down across the book cover towards you in one big movement. Now it should cover the surface of you book in an even coating. Quickly press the book to the corresponding surface of it’s cover. Then repeat with the spine and opposite cover. Lastly you need to fold over the flaps and glue these to the inside of the cover. You might use a brush to put glue on these smaller surface areas.

Then your book will look like this.

Now you get to put on your pretty fabric! If your book is quite soggy from the first round of glue (mine wasn’t) you could leave it to dry a bit first if you like. Now with your fabric cut out align the spine of the book with the center of the the fabric. Then repeat the steps with the glue again.

Oh now the book is covered HURRAH!

Yes mine isn’t very well done, but hey I’m happy!
Now it looks like this! It took a few days for it to stop smelling like glue… (shrugs) I left mine on a sunny window sill to dry. Also be weary, that if you got extra glue on the inside cover, you might glue the first and last page of the cover to the book by accident. (Laughs) Just so you know! Well anyways, if you’ve followed this process, enjoy your book!
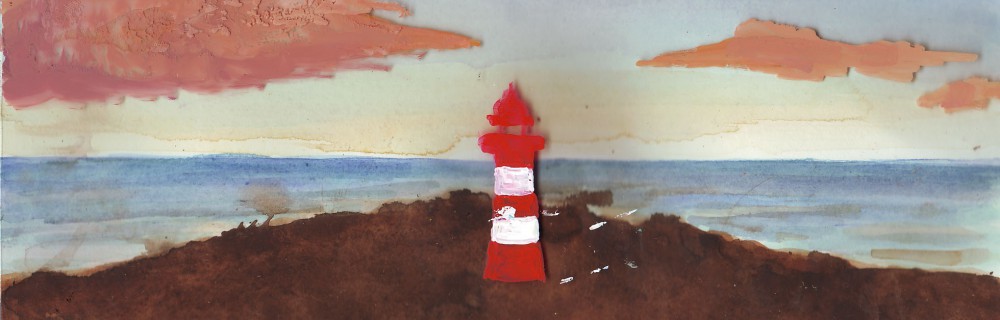
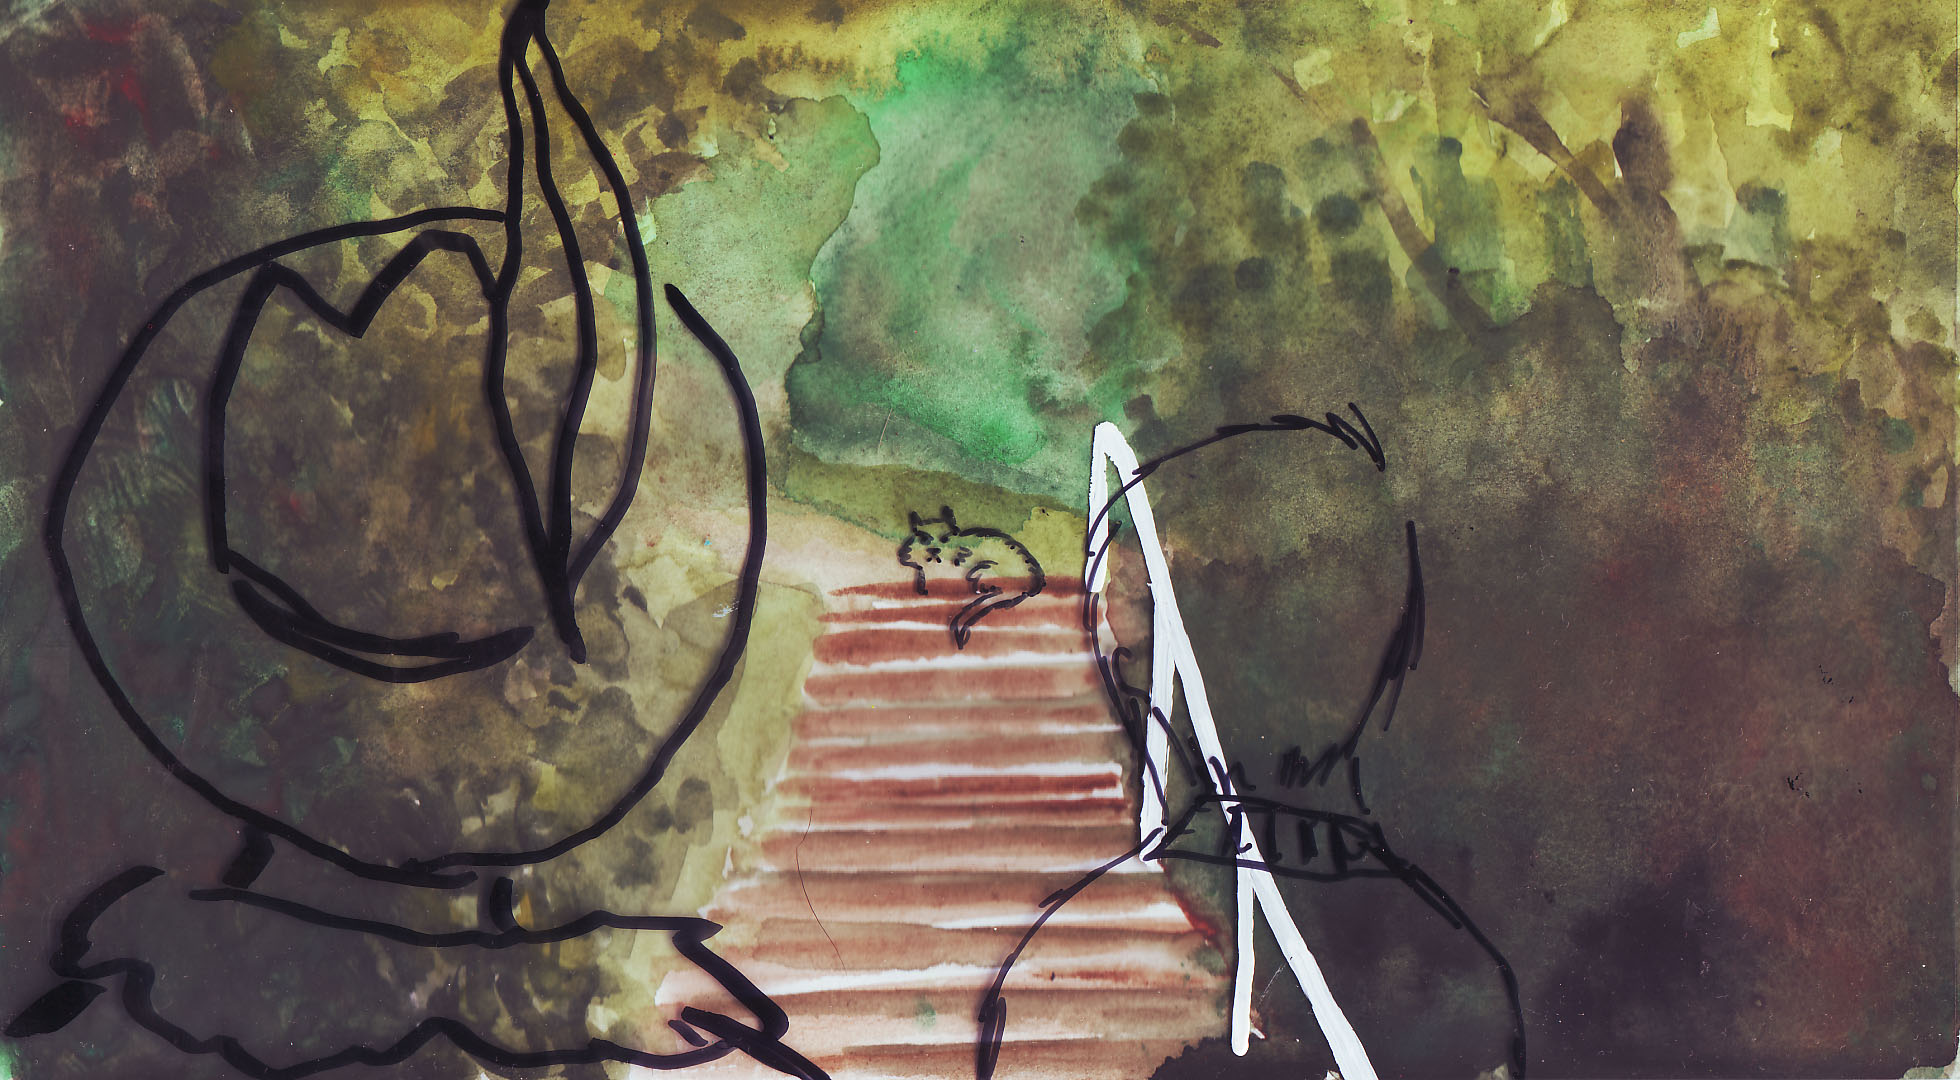
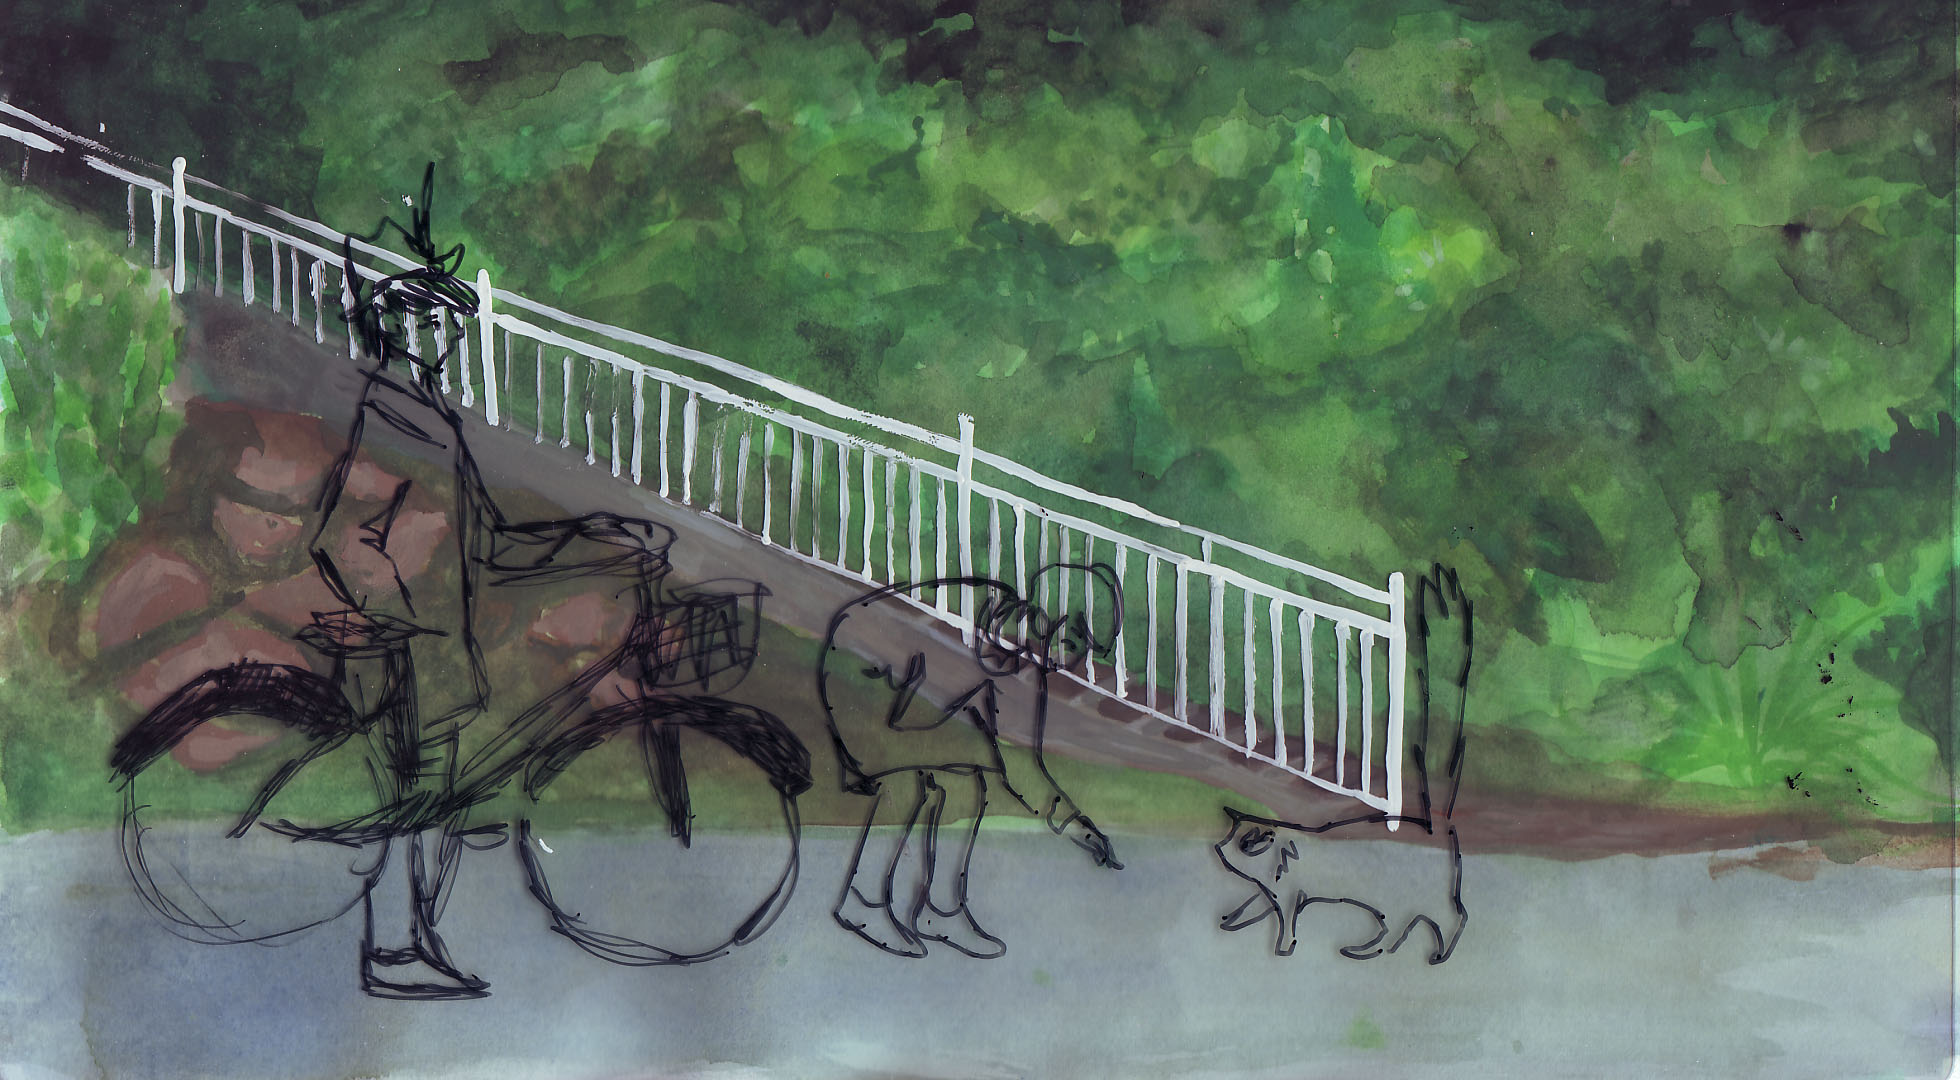

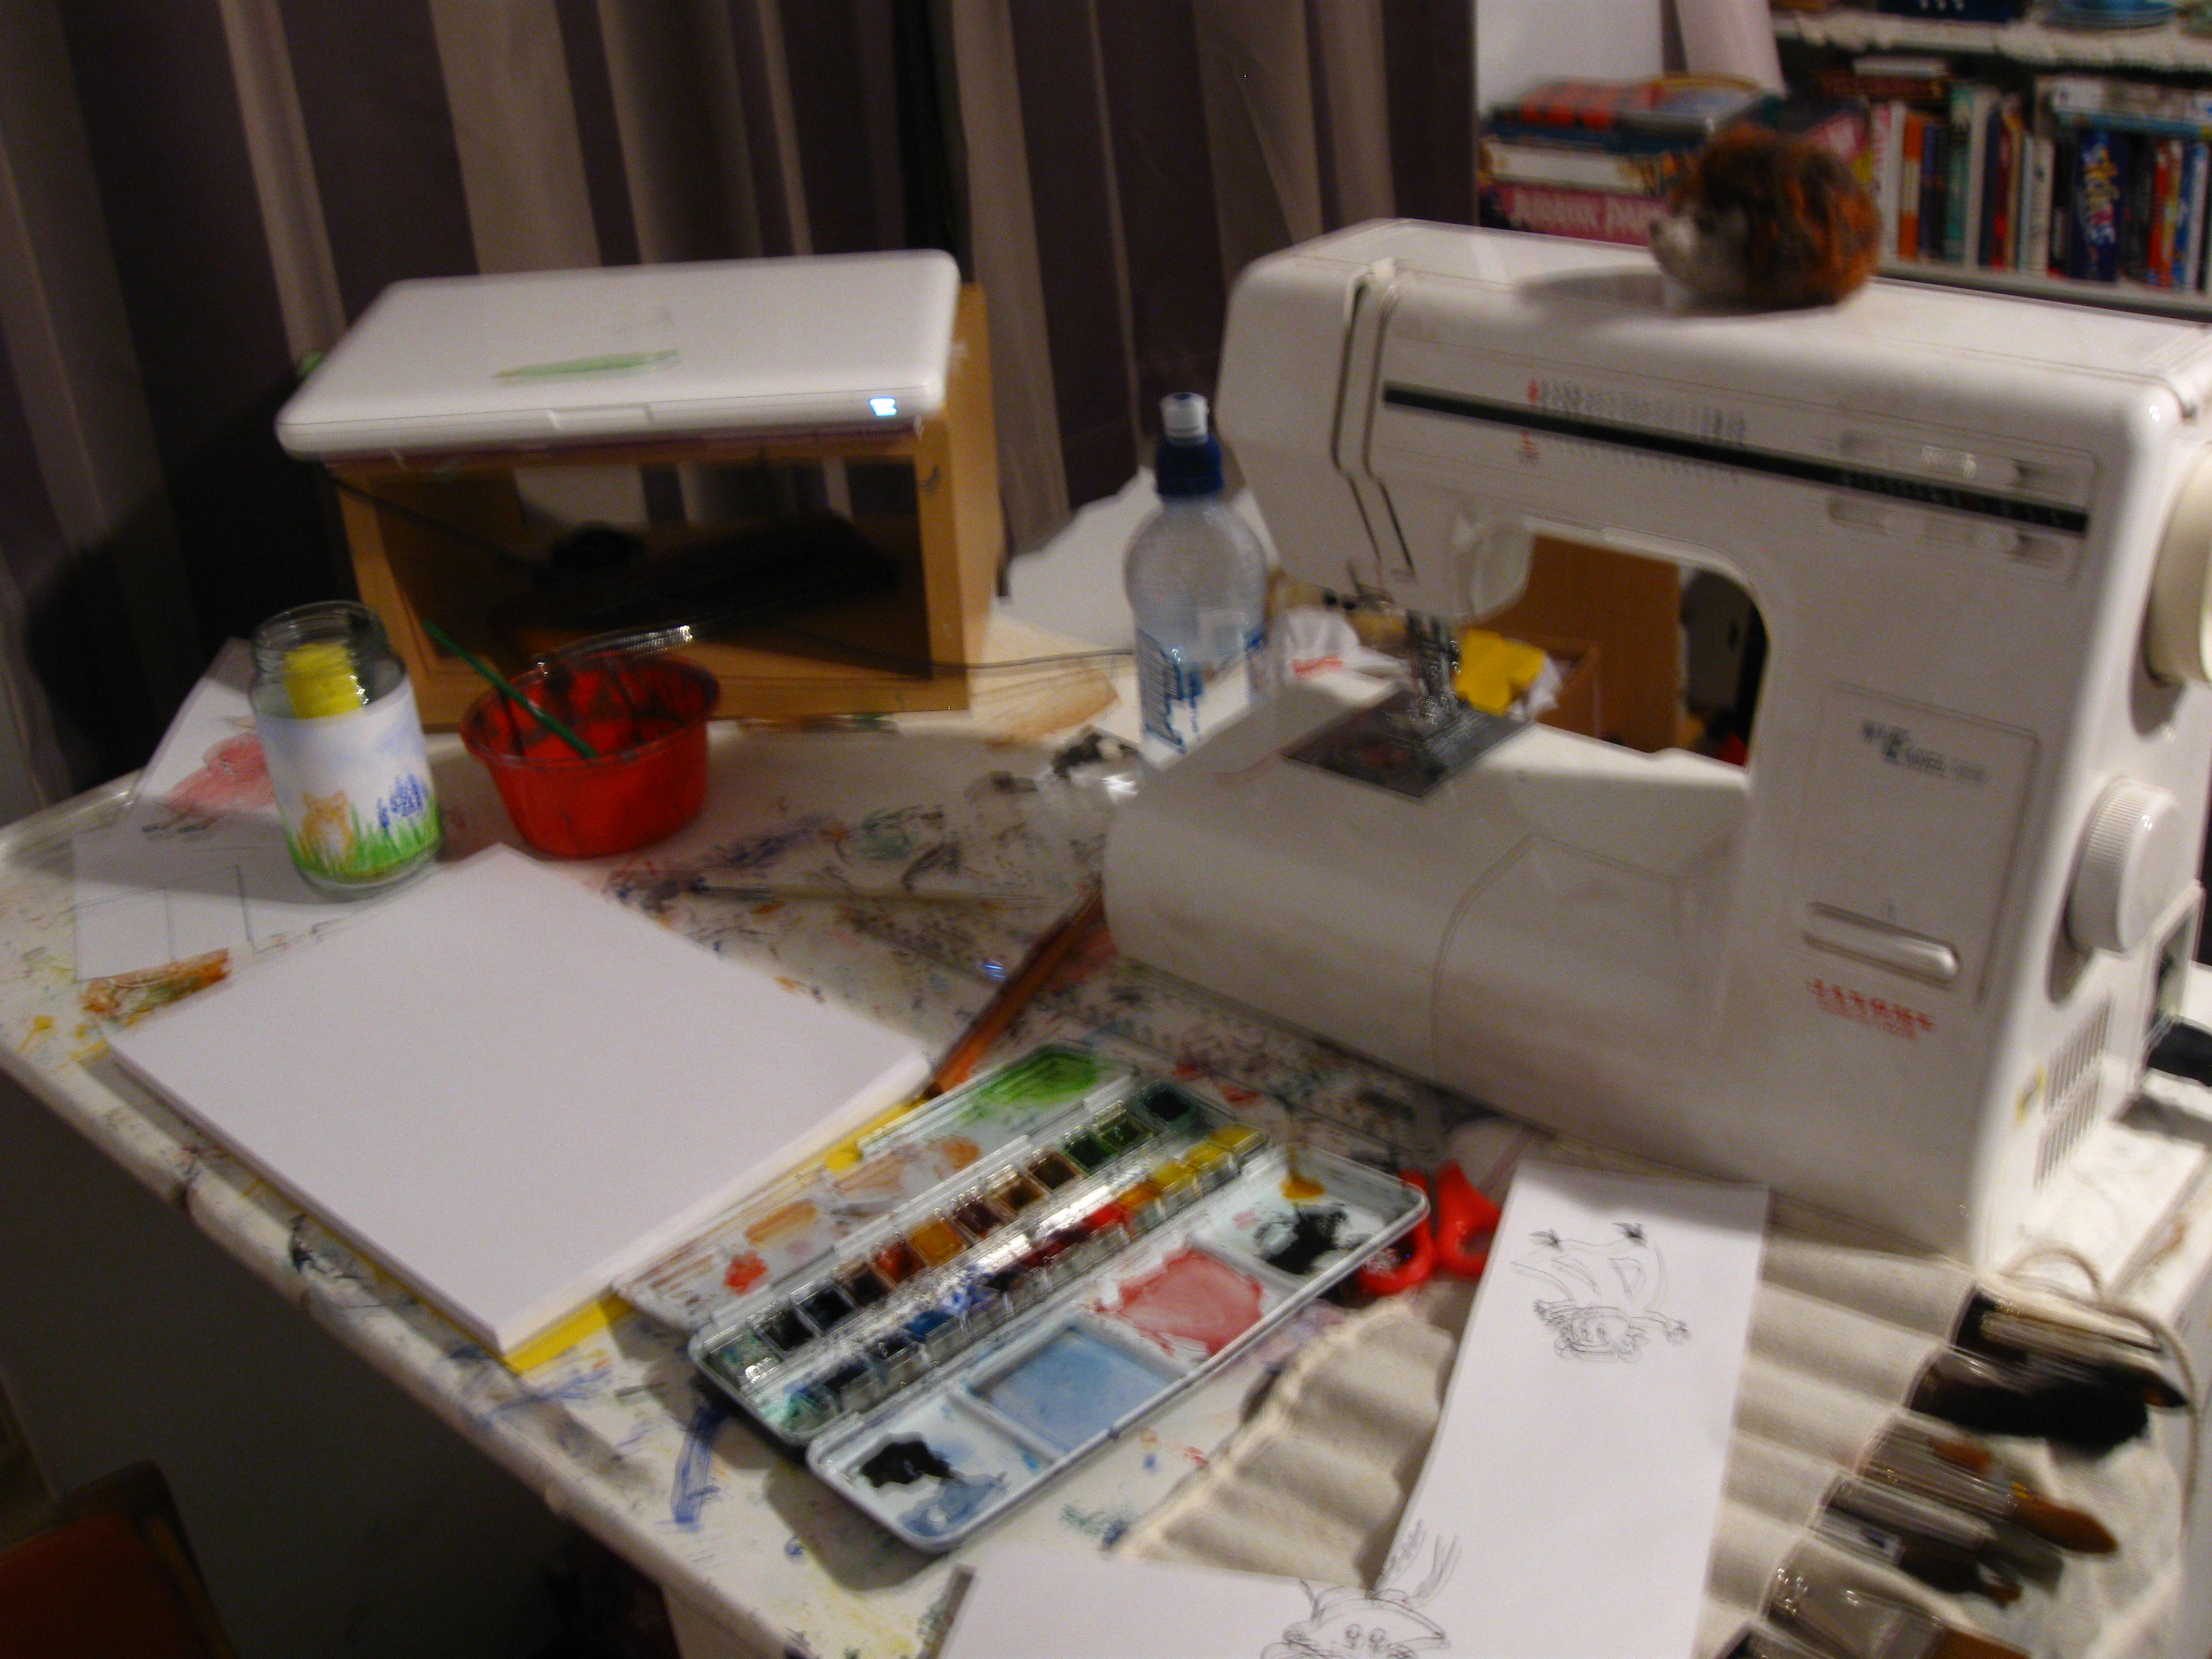
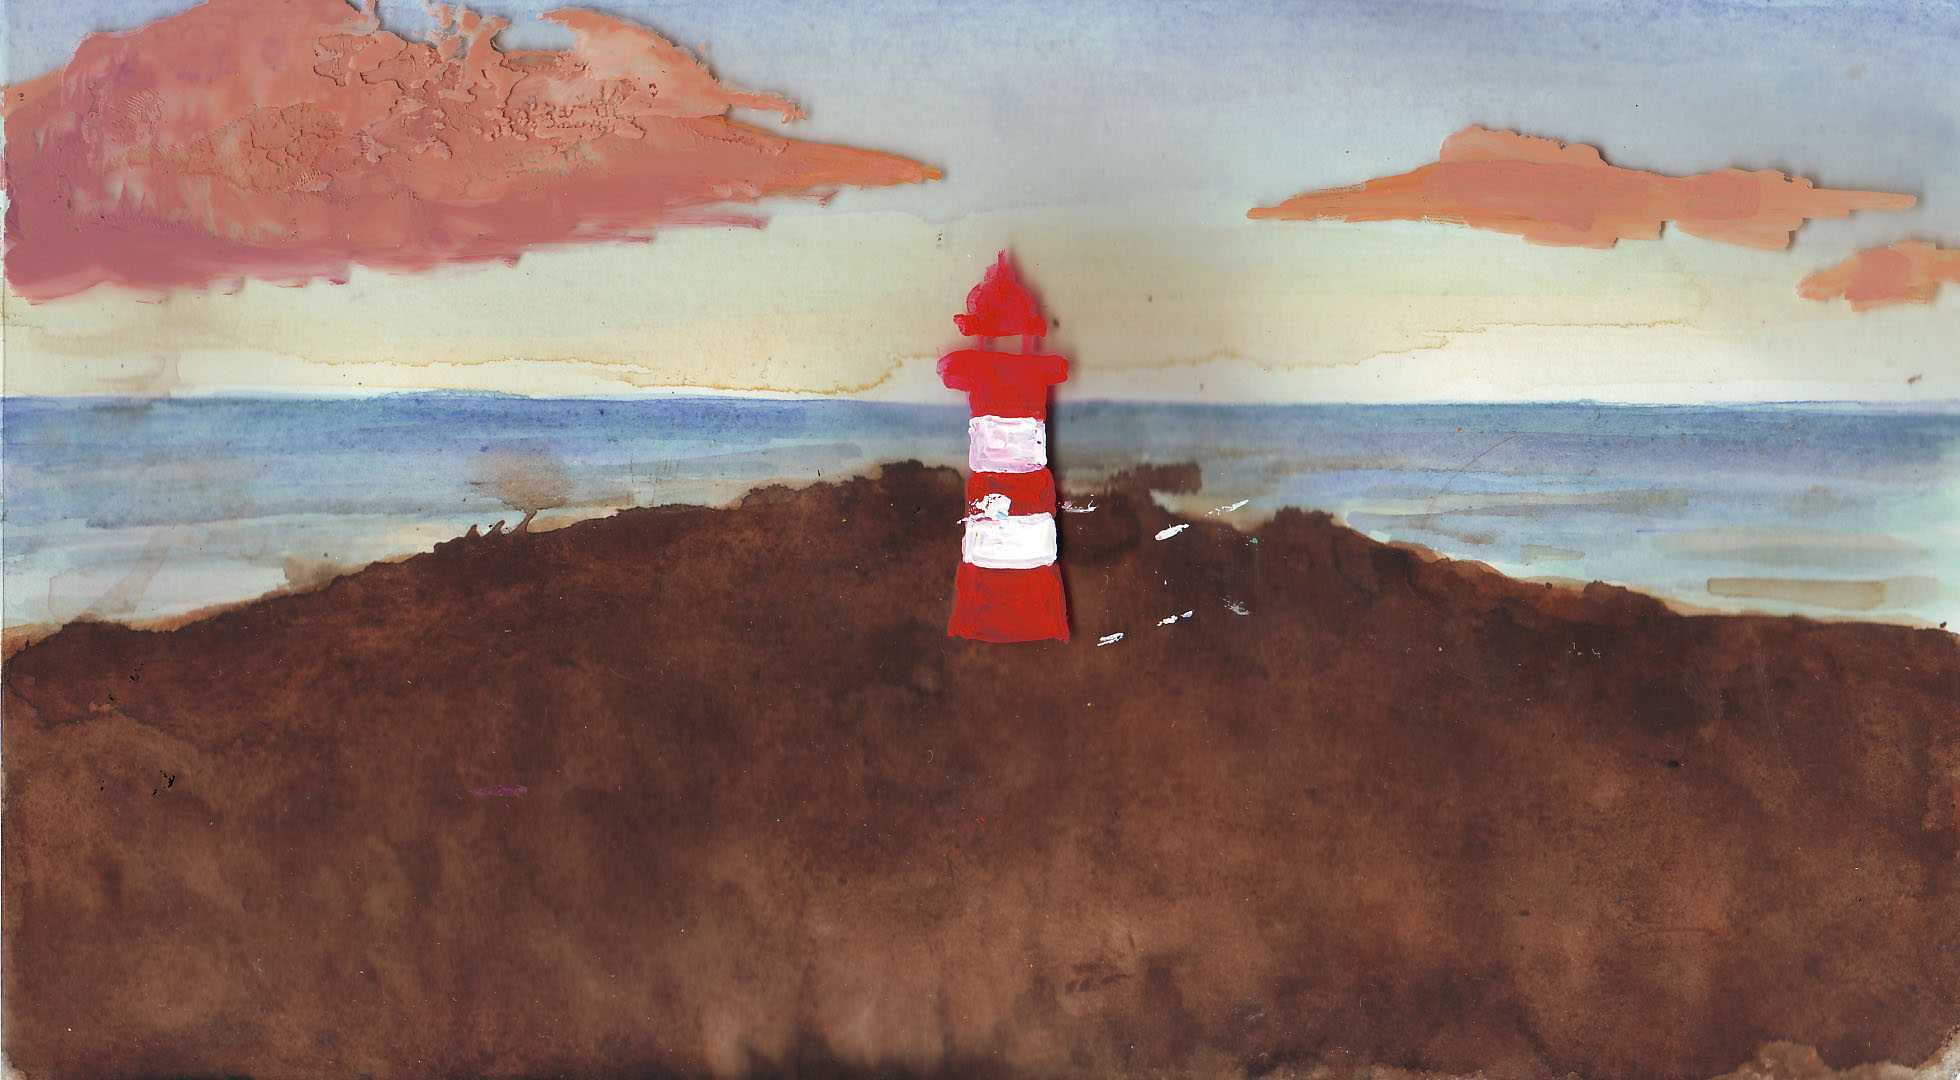 The third year carries on. With only a month or so before Site 2014 the school has become busier than before. Things are falling into place with my film work, which is cool. Though I have discovered, that after painting trees for months the sea is a complete mystery to me. However, think I will probably work with the backgrounds I have made for scene four anyway and see how they work once projected. I got given the option of my chosen room for Site, provided I share it with another student as a screening room set up. That’ll work so I’m happy! I’d like to finish the work a little early if I can so as to give myself time to step back from it, and then come at it fresh for some critical editing.